All About Kali And Docker A Match Made In Hacker Heaven!

I’m currently using this combination to potentially replace some needs for VMs. I’ll pair this with the cloud to make it less taxing on the system (there will be another blog post about that and the cost in general). However, right now, I’m still using my computer’s resources. I emphasize that you’ll use your own computer’s resources, but setting up a container for Kali Linux is a lot less taxing on your mind and computer compared to a VM.
That being said, there are some downsides to using containers that are solved with VMs. One issue is that the networking for Docker is a bit advanced. As soon as I figure it out, I will write a full guide on how to use this for something like THM (Try Hack Me). There is a prebuilt container available, but it’s not Kali; it’s Parrot OS/Security (you can find this on DockerHub’s homepage). That one is fully equipped, but I recommend a strong computer or using the cloud.
But again, the aim here is to learn the basics of Linux with Kali so you can install and play with different tools and the command-line interface (CLI), which is the most important thing you can learn. So, play with Python scripts and other programming languages too. This is a total beginner’s guide.
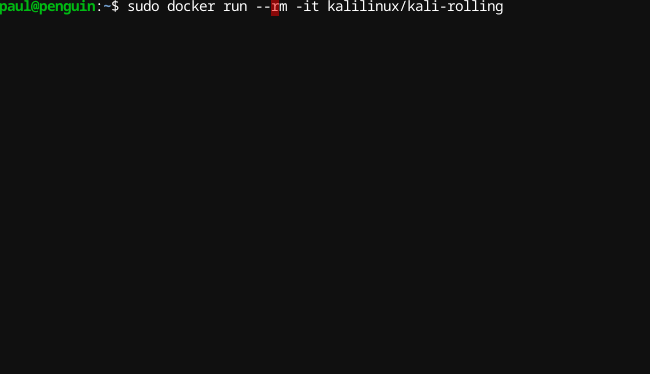
I’m using the version kalilinux/kali-rolling there are a few versions using kasm which I can do a write up for later but it is paid. I use the flags –rm -it to show I want this container destroyed after I’m done it stands for remove and if you run the docker ps -a or ps commands you will notice this container does not show up. And I also use the -it flag which allows the terminal to be interactive AKA. I will actually see it in my terminal. Both very important, followed by kalilinux/kali-rolling which is the image. Now normally the proper way would be to do a sudo docker pull <image> but is not needed but be aware that you may run into that command in tutorials. What pull does it will download the image and it will sit in your docker image directory and you can still run it by using the command above and it will take less time!

This is the screen you will get once you run the command above. Notice you will be in the root directory unless otherwise specified by a docker command, Now you can make a user just by googling how to make a user in linux and adding them to the sudo file that’s important. or reference to one of my other write ups.

Now this is not unique to kali but to all linux systems so be aware if you are a windows user this is much different. This is updating the version of linux you have and allow you to install other programs which we will go over in a minute.
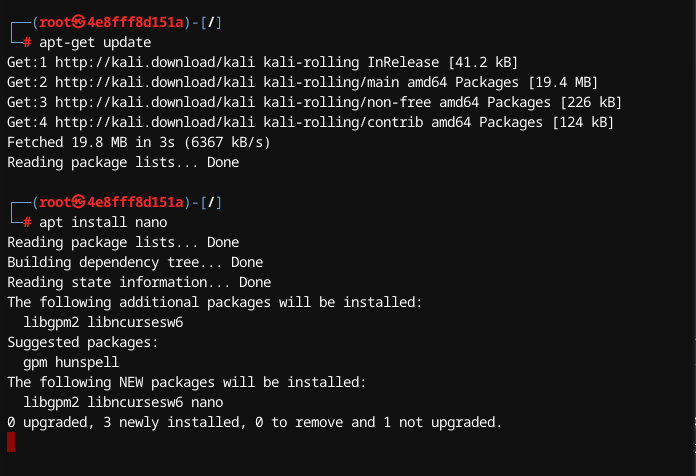
This is the screen you will see when you use the command apt-get update (apt) by the way is a application management program, notice I use apt install <program> you need the apt which pulls repositories of programs, and install after to tell it what to do. In this I am installing nano a code editor, is it the best no, but I use it and have used it for a while its lightweight and gets the job done.
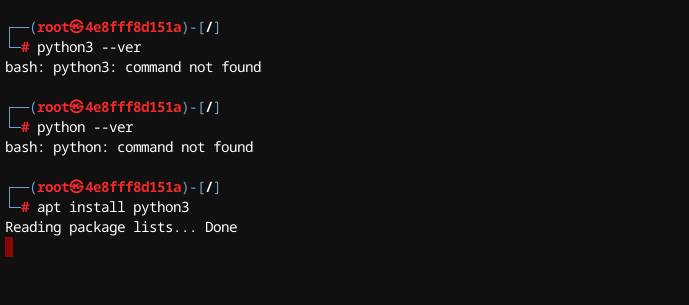
And this is another example of apt install this time we are using apt install python3 so that we can use and play around with python. Using nano as the text editor rather than sublime or vscode is a great option, you can also use vim but thats another beast altogether.
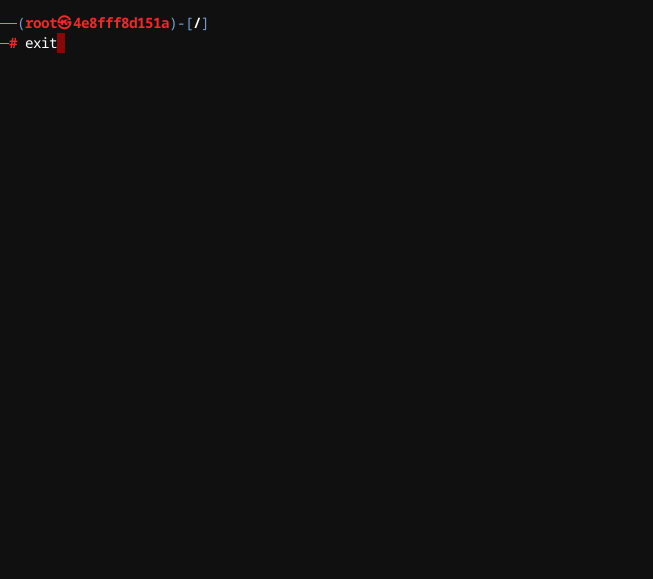
And when we are done we simply type the command exit and it will bring you back to your terminal and the docker container just used will be deleted with EVERYTHING you had in it make sure to transfer it over before. I hope to have another blog post out this week about docker networking and getting it to work with different cybersecurity platforms to learn such as THM.
