This is about Fun Interactive SHell (FISH)
This blog post is all about Fish (Fun Interactive SHell) and its useful features, especially for beginners working with Linux. Let’s start with how to install Fish.
On Debian-based systems like Ubuntu, you can simply run the command “apt-get update” (with sudo in front) to ensure everything is up to date. 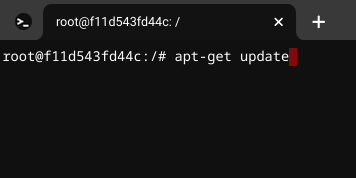
Next, enter the following command in the terminal to install Fish: “apt install fish”. 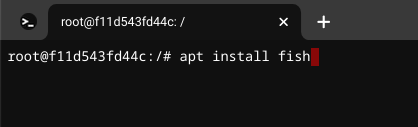
After the installation, you may need to close and reopen your terminal for the changes to take effect. To activate the Fish shell, type “fish” in the terminal.
When you start using Fish, you’ll notice some helpful features. For example, the text color will be red 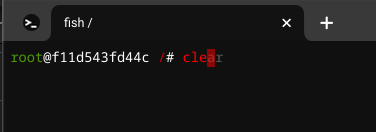
until you complete a command, at which point it will turn blue or another color to indicate that it is a valid command. 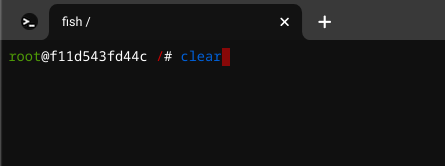
Fish also provides command auto-completion, so you can press the right arrow key to auto-fill a command.
Another useful feature is the wildcard. For instance, you can use “ls *.jpg” to list all files ending with “.jpg”, or “ls *lib/” to list everything in the “lib” directory. These may seem like small features, but they can greatly enhance your command-line experience.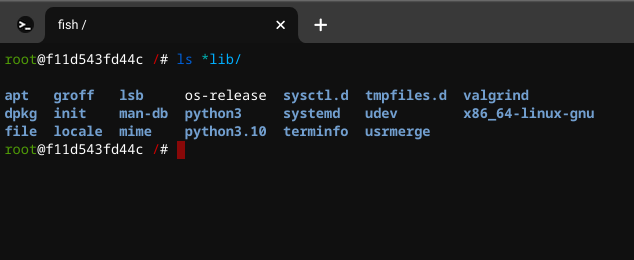
If you need more information, you can refer to the official Fish documentation at https://fishshell.com/docs/current/. It’s a great resource to further explore the capabilities of Fish.
For any reason to exit fish and return to bash just type in “exit” to leave.
I hope these tips help you on your Linux journey. Feel free to explore and make the most of the Fish shell!
Related Posts
All About Kali And Docker A Match Made In Hacker Heaven!